
Major home systems rarely fail at a convenient time. A heating problem may appear during the coldest week of winter, a plumbing leak may spread behind a finished wall, or a roof issue may damage insulation before you realize water is entering the house. When several systems need attention, deciding where to spend limited funds can feel overwhelming.
A budget-friendly approach does not mean choosing the cheapest repair or postponing every major project. It means understanding which problems create immediate safety risks, which ones can cause additional property damage, and which improvements can be scheduled gradually. The order matters. There is little value in replacing damaged drywall before stopping the leak above it or installing new mechanical equipment before correcting major air leaks.
Begin by dividing projects into three categories: urgent repairs, planned replacements, and optional improvements. Set aside part of the budget for unexpected conditions because opening walls, removing old equipment, or inspecting an attic can reveal problems that were not visible during the initial estimate.
Written inspections, itemized proposals, and a multiyear plan can help you make decisions based on evidence rather than pressure. By coordinating related projects and addressing the underlying causes of problems, you can protect your home without spending money twice.
Diagnose the Cause Before Approving a Replacement
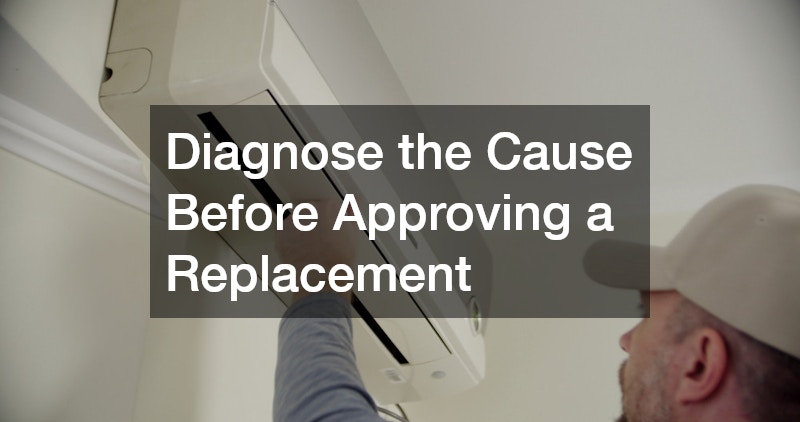
Uneven temperatures, weak airflow, high utility bills, and unusual noises may suggest that heating or cooling equipment is failing. However, these symptoms can also result from dirty coils, blocked filters, leaking ducts, poor insulation, thermostat problems, or inadequate return-air pathways.
Before requesting service, document what is happening. Note which rooms are uncomfortable, when the problem occurs, how long the equipment runs, and whether the issue changes with outdoor temperatures. Review utility bills from the same season in previous years to identify unexplained increases.
Ask HVAC contractors to explain what evidence supports the diagnosis. If one component has failed, request clarification about whether the rest of the system remains in good condition. A repair may be reasonable when the equipment is relatively young, parts are readily available, and the problem is isolated.
HVAC repair may provide the best value when the expense is modest compared with the system’s expected remaining life. It can also make sense when the equipment still operates efficiently and has not required repeated service. Ask how long the proposed repair is expected to last and whether the parts and labor include a warranty.
Replacement may be more practical when the system experiences frequent breakdowns, consumes excessive energy, uses obsolete components, or no longer maintains acceptable comfort. A major failure in older equipment can be difficult to justify when additional repairs are likely.
Compare written proposals carefully. Estimates should identify:
- Diagnostic charges
- Parts and labor
- Permit or inspection fees
- Electrical or duct modifications
- Disposal of old components
- Warranty coverage
- Optional upgrades
Do not assume the lowest estimate includes the same scope as the others. One contractor may include drainage, wiring, permits, and duct corrections, while another may quote only the equipment. Comparing complete scopes helps you avoid unexpected costs after work begins.
Schedule Seasonal Service Before an Emergency
Extreme weather can expose weaknesses that were less noticeable during mild conditions. Unfortunately, this is also when service schedules fill quickly and homeowners have less time to compare recommendations. Seasonal inspections provide an opportunity to identify problems before comfort or safety is affected.
Arrange cooling service during spring, before the first prolonged heat wave. Contact an air conditioning repair service if you notice warm air, weak airflow, excessive humidity, unusual sounds, water near the indoor unit, or repeated cycling.
A cooling inspection should assess more than whether the system turns on. Important areas include:
- Condensate drainage
- Coil cleanliness
- Fan and blower performance
- Electrical components
- Thermostat operation
- Refrigerant readings
- Duct leakage
- Temperature differences between supply and return air
Some cooling problems are inexpensive when found early. A blocked drain or failing electrical component may be manageable before it causes water damage or a complete shutdown. Continuing to operate a struggling system can place additional stress on other parts.
Heating equipment should be checked before winter. Warning signs that may justify furnace repairs include delayed ignition, loud startup sounds, inconsistent heat, frequent cycling, unusual odors, and rising fuel use. Fuel-burning systems require prompt attention when there is concern about combustion, ventilation, or carbon monoxide.
Homeowners should never ignore a carbon monoxide alarm or attempt to bypass a safety control. Leave the area when necessary and follow emergency guidance from local authorities or the utility provider.
When replacement is recommended, look beyond the advertised efficiency rating. Proper sizing and installation quality strongly affect actual performance. Oversized equipment may cycle too often, while undersized equipment may run continuously. Existing ducts, insulation, windows, and air leakage should be considered before selecting a new system.
Keep a record of every service visit, repair, and cost. A pattern of recurring failures can make the repair-versus-replacement decision much clearer.
Stop Leaks Before They Damage Finished Areas
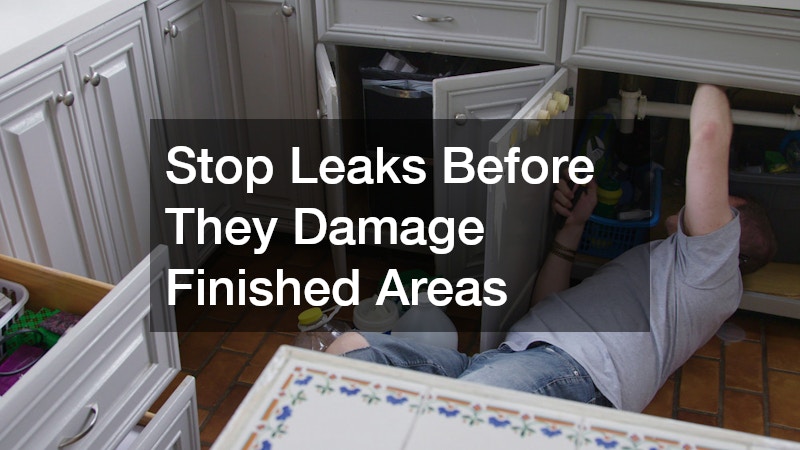
A slow plumbing leak can damage cabinets, flooring, drywall, insulation, and structural materials long before water becomes obvious. Regular inspections can help you find problems while they are still manageable.
Check beneath sinks, around toilets, behind washing machines, near water heaters, and inside accessible basements or crawl spaces. Look for staining, corrosion, swollen materials, peeling paint, musty odors, or unexplained moisture.
Professional plumbing services may be needed when you experience:
- Low or fluctuating pressure
- Recurring drain clogs
- Slow drains throughout the home
- Running toilets
- Discolored water
- Unexplained water use
- Water stains on walls or ceilings
- Sewer or musty odors
- Leaks near the water heater
You can perform a basic leak check by turning off all fixtures and water-using appliances, then observing the water meter. Continued movement may indicate hidden water use. This test does not identify the location, but it gives you useful information to share with a professional.
Some low-risk maintenance tasks may be suitable for homeowners, such as replacing an accessible faucet aerator or toilet flapper. Work involving main lines, sewer pipes, gas piping, water heater safety controls, or concealed leaks should generally be left to trained professionals.
Ask a local plumbing company to separate its findings into urgent problems, repairs needed soon, preventive recommendations, and optional upgrades. This makes it easier to prioritize the work instead of approving every suggestion at once.
Budget-conscious plumbing improvements may include:
- Replacing deteriorated supply hoses
- Installing accessible shutoff valves
- Correcting excessively high water pressure
- Insulating pipes in vulnerable areas
- Servicing the water heater
- Repairing running toilets
- Updating inefficient fixtures
Recurring clogs deserve proper evaluation. Repeatedly using harsh drain chemicals may damage certain pipes and rarely corrects an obstruction caused by roots, damaged piping, buildup, or an improperly sloped line.
Request an itemized estimate that explains material costs, labor, access requirements, permits, cleanup, and restoration. A plumbing repair that requires opening tile, flooring, or drywall can cost much more once finish work is included.
Coordinate plumbing work with planned kitchen or bathroom renovations. Opening a wall once to replace old pipes, update shutoffs, and complete the renovation is generally less expensive than demolishing finished surfaces again later.
Identify the Source of Moisture Before Rebuilding
Water stains do not always reveal where moisture entered. A ceiling stain could come from a supply pipe, drain, roof penetration, failed flashing, condensation, or an overflowing gutter. Water may travel along framing before appearing far from the actual source.
Residential plumbers can investigate piping and fixture-related causes through visual inspections, pressure testing, drain evaluation, and moisture detection. Provide details about when the stain appears. Moisture that develops after using a specific fixture may suggest a plumbing problem, while damage that worsens during rain may point to the building exterior.
Ask the provider:
- What evidence supports the diagnosis?
- Is the repair temporary or permanent?
- Could concealed materials contain additional damage?
- Will the system require further testing?
- What finish restoration is included?
- Does the work carry a warranty?
Roof-related concerns should be evaluated when you notice damaged shingles, failed flashing, attic moisture, granules in gutters, sagging areas, or leaks near vents and chimneys. Local residential roofers can inspect roofing materials, underlayment, flashing, penetrations, decking, and ventilation.
A roof estimate should explain whether the problem can be addressed through a localized repair or whether broader deterioration is present. Compare proposals based on the full scope, including:
- Removal of damaged materials
- Replacement underlayment
- Flashing work
- Decking repair allowances
- Ventilation changes
- Debris disposal
- Cleanup
- Labor and material warranties
Do not replace damaged insulation, drywall, or paint before the moisture source is corrected. Otherwise, the same materials may need to be removed again.
When funds are limited, phase the work in this order:
- Stop active water entry.
- Dry the affected area.
- Inspect for concealed deterioration.
- Complete the permanent repair.
- Replace damaged insulation and finishes.
- Schedule optional improvements later.
Photograph the condition before demolition begins. Documentation can help contractors understand the history of the problem and may be useful for an insurance claim when the damage involves a covered event.
Make sure each professional knows what the others have found. A coordinated diagnosis reduces the risk of paying one provider to repair the visible symptom while the true source continues causing damage.
Improve Efficiency by Sealing and Insulating Correctly

When rooms are difficult to heat or cool, homeowners often assume they need larger equipment. In reality, air leakage and inadequate insulation may be allowing conditioned air to escape while outdoor temperatures enter the home.
Inspect the attic before purchasing a new mechanical system. Common signs of insulation problems include:
- Uneven room temperatures
- High energy bills
- Visible gaps or thin areas
- Compressed insulation
- Drafts near ceiling penetrations
- Excessive attic heat
- Ice dams in cold climates
- Moisture or staining
Adding insulation without first sealing air leaks can produce disappointing results. Air can move through openings around recessed lights, attic hatches, exhaust fans, plumbing penetrations, electrical wiring, and wall top plates.
An attic insulation company should evaluate the existing material, depth, air leakage, ventilation, moisture conditions, and signs of pest contamination. The provider should also identify unsafe wiring, damaged exhaust ducts, or recessed fixtures that require proper clearance.
Depending on the structure, an insulation contractor may recommend blown-in material, batts, rigid foam, spray foam, or a combination. The best option depends on the location, ventilation design, moisture conditions, access, and intended performance.
Ask potential providers:
- Will air leaks be sealed before installation?
- Does old material need to be removed?
- How will soffit vents remain open?
- How will attic access be insulated?
- Are exhaust fans vented outdoors?
- What final insulation level is expected?
- How will recessed lights and electrical components be protected?
- What cleanup is included?
Do not choose a proposal based only on price per square foot or the highest advertised insulation value. Installation quality matters. Gaps, compression, uneven coverage, or blocked ventilation can reduce performance and create moisture concerns.
Coordinate attic work with roofing, electrical, ventilation, and pest-related projects. Any wiring repair, structural work, or exhaust-duct correction should be completed before new material covers the area. If the roof will be replaced soon, discuss whether related ventilation or air-sealing work can be completed at the same time.
Utility rebates, tax incentives, and local efficiency programs may help offset costs. Keep invoices and product documentation in case they are required for an application.
Proper air sealing and insulation can reduce the workload on heating and cooling equipment, improve room-to-room comfort, and potentially allow a future replacement system to be sized more accurately.
Spend in the Order That Protects Your Home

Budget-friendly home improvement is not about selecting the least expensive temporary fix. It is about directing money toward work that protects safety, prevents additional damage, restores essential functions, and improves long-term reliability.
Address immediate hazards first. Stop active water intrusion before repairing finishes, and restore essential heating, cooling, or water systems before beginning cosmetic improvements. Efficiency projects can follow once the structure and mechanical systems are stable.
Collect written assessments and compare the complete scope of each proposal. Keep inspection reports, warranties, service records, photographs, and estimates in one place. These documents can help you identify recurring problems and plan future replacements before they become emergencies.
When every project cannot be funded at once, create a multiyear schedule and maintain an emergency reserve. Coordinating related work can reduce demolition, duplicated labor, and repeated finish repairs.
The best upgrade plan is one that supports daily comfort while preserving the home itself. By diagnosing problems carefully, completing work in a logical order, and investing in durable solutions, you can manage major systems without losing control of your budget.