In the realm of home improvement projects, a new garage door stands out as a particularly cost-effective and rewarding undertaking. Tackling this project on your own instead of hiring a garage door installer not only saves money on potential labor costs but also offers a satisfying sense of accomplishment upon completion. This article will cover what you need and how to stay on budget for a successful install.
What Tools and Materials Do You Need?
A successful installation begins with a comprehensive checklist of tools and materials tailored to your specific needs and setup. A basic toolkit should include a power drill, adjustable wrenches, screwdrivers, pliers, and a durable ladder to provide access to elevated points during installation.
In addition to these fundamental tools, acquiring materials such as the garage door opener kit, mounting brackets, screws, and any necessary wiring will ensure you have everything required to complete the process seamlessly. You may also want extension cords and a level to help with alignment. Carefully reviewing the garage door opener’s manual for its particular requirements is also advisable, as different models may require additional components. Double-checking your supplies before starting can save time and frustration later.
Lastly, reliable lighting and a pair of safety goggles bring added assurance to the project by improving visibility and safeguarding your eyes from any debris or mishaps. With all materials on hand, you’re well-equipped to face the installation challenge with confidence and precision.
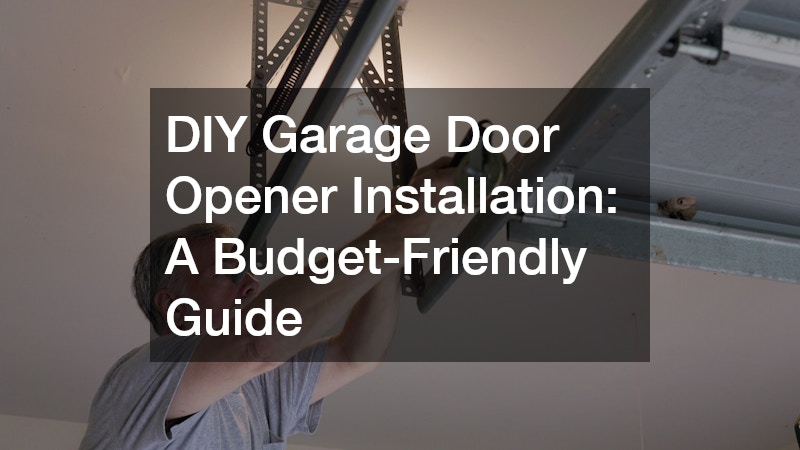
How Do You Install the Garage Door Opener?
The initial stage of installation involves securely mounting the opener unit within your garage, typically using brackets that align with your garage ceiling’s structural beams. Executing meticulous measurements before drilling ensures alignment precision and the opener’s stable operation. Taking time to double-check measurements and bracket placement can prevent unnecessary adjustments later.
Following the successful mounting, the next critical phase entails wiring the door opener’s components, which typically requires connecting power sources and aligning sensors for optimal functionality. Using wire staples or conduit can help organise cables neatly and protect them from damage. Paying attention to the manufacturer’s instructions is crucial here, as incorrect wiring can lead to system malfunctions or safety hazards.
Finally, programming the garage door opener for everyday use marks the final step in the process. Utilizing the provided remote controls or smartphone applications to sync with the opener ensures a seamless and user-friendly experience, bringing your DIY project to fruitful completion. Testing the system several times can confirm that all components are operating correctly before regular use.
How to Troubleshoot Common Issues?
Alignment issues often occur when the garage door opener is not precisely positioned according to the ceiling beams, resulting in abnormal door movement or motor strains. Re-measuring and adjusting the placement can effectively resolve such problems by restoring normal function. Using a level during installation can also help prevent future misalignments and unnecessary wear on the system.
In the face of electrical faults, double-check all wiring connections and consult your garage door opener’s manual to verify proper electrical configuration. Addressing frayed wires or loose connections might correct operational glitches and ensure a consistent power supply to the system. It’s also wise to inspect the circuit breaker and power source if the opener remains unresponsive after rewiring.
Sensor misalignments, leading to doors not shutting correctly, can be alleviated by ensuring that the sensors face each other directly across the door entry. Adjusting these positions and confirming clear sightlines often reinstates proper door functionality, resolving such hurdles effectively. Cleaning dust or debris off the sensor lenses can further improve their accuracy and responsiveness.
Successfully installing a garage door opener yourself provides not only immediate cost savings but also a deep sense of personal achievement. By improving your garage’s functionality through a tailored setup, you’ve also increased your home’s overall value and convenience.
This project serves as a gateway to further DIY home improvement endeavors, broadening your skill set and confidence in tackling new challenges. With the right preparation and mindset, each DIY task can offer a rewarding journey full of learning and growth opportunities. Continuing this path of taking home projects into your hands opens a world of possibilities, fostering a sustainable and enriching hobby that pays dividends both financially and personally as you enhance your living space.
.