Choosing the right house siding is crucial to achieving both the desired aesthetic appeal and long-term durability of your home. There are various options available, including vinyl, fiber cement, wood, and metal siding, each offering unique benefits and considerations. Vinyl siding is a popular choice due to its cost-effectiveness and low maintenance requirements, while fiber cement provides enhanced durability and resistance to weather and pests.
Wood siding, though more traditional and visually appealing, often requires more upkeep to prevent rotting and insect damage. Meanwhile, metal siding offers superior durability and is often used in environments that experience extreme weather conditions.
The climate in your area can significantly influence your choice of house siding. In regions with extreme temperature fluctuations, fiber cement may offer superior protection due to its thermal stability. Conversely, in areas prone to heavy rainfall, moisture-resistant options like vinyl or metal might be more suitable. The aesthetic appeal of house siding shouldn’t be overlooked either. Depending on your home’s style, you might lean towards the classic elegance of wood, or the sleek, modern look of metal. Balancing these factors can ensure that your choice of siding will meet both your practical needs and design preferences.
When exploring house siding alternatives, consider the environmental impact of your choice. Research the sustainability of the materials you are interested in, such as whether they can be recycled or are made from renewable resources. Vinyl siding, for example, though not biodegradable, is highly recyclable, which may be an essential consideration for environmentally-conscious homeowners. On the other hand, wood siding harnesses natural elements but may contribute to deforestation if not sourced responsibly. Weigh these factors alongside the energy efficiency and insulation properties that different siding materials can offer to select the most sustainable option for your home.
Preparing Your Home for Siding Installation
Preparing your home for siding installation is a critical step that ensures the durability and quality of the final outcome. Start by inspecting the exterior of your home for any existing damage, such as cracks or rotting in the underlying structure, and repair these issues before beginning. Removing old siding is typically necessary to provide a clean slate for the new installation; however, if the existing siding is in good condition, installing new siding over it might be an option. Next, measure the exterior dimensions of your home precisely to calculate the amount of siding material needed, considering any windows or doors that will require trims and finishing elements. Lastly, obtain all the necessary tools and safety equipment, such as a ladder, utility knife, and gloves, to ensure a smooth and safe installation process.
Having the right preparation contributes significantly to the efficiency and success of your siding installation project. Before you begin, ensure you have all necessary permits, as some localities have specific codes about house siding that must be adhered to. Double-check your measurements and plans to confirm that the siding you have ordered fits your design and material needs to avoid delays. If hiring professionals to assist, aligning schedules and confirming expectations can prevent miscommunications and overruns. Moreover, depending on the siding material, additional preparations such as weatherproofing your home’s exterior walls may be required.
Weather conditions also play a crucial role in the preparation and execution of siding installation. Plan your project during a season with consistent, mild weather to avoid complications such as warping or swelling of the siding materials. Windy conditions can render installation dangerous and likely to result in mistakes or material damage, and extreme cold may cause some materials to become brittle. Notably, during the project’s planning phase, consider additional time for delivery of materials or unforeseen complications that may arise. By accounting for these variables in advance, you can ensure a smoother installation process and minimal disruption to your timeline.
Step-by-Step Guide to Installing House Siding
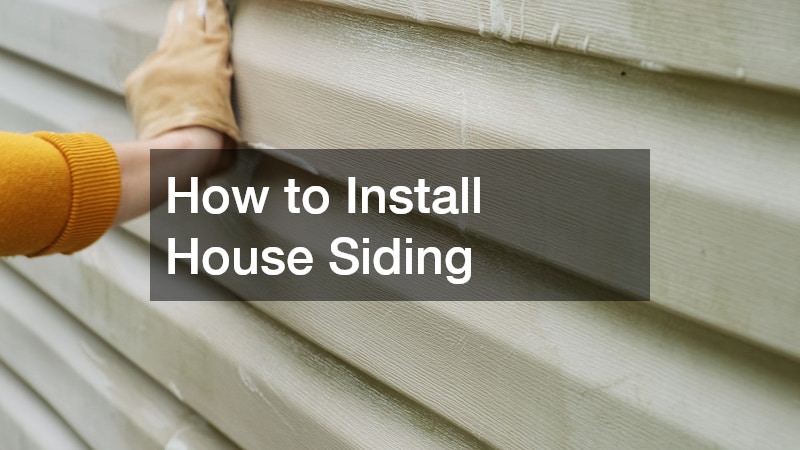
To install house siding, begin by evaluating the wall surface for flaws that might affect the siding’s fit. If you’re replacing existing siding, remove it carefully, ensuring not to damage the wall beneath. Clean the wall surface to remove dirt and residues, as these might prevent smooth adhesion of the siding panels. Apply a house wrap or vapor barrier across the surface to prevent moisture infiltration and increase energy efficiency. Make sure to start at the bottom of the wall when attaching the panels to guarantee even alignment as you progress upwards.
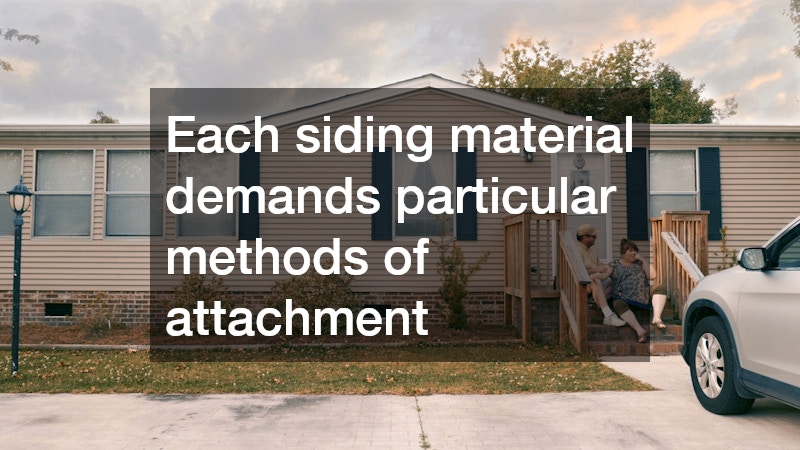
Each siding material demands particular methods of attachment. Vinyl siding panels usually snap together via a tongue-and-groove system, which is user-friendly for DIY installations. Begin by installing the starter strip at the very bottom, which is crucial for guiding the alignment of subsequent panels. For fiber cement siding, remember to pre-drill holes, as it’s more rigid and can crack if nails or screws are driven directly through it. Meanwhile, wood and metal sidings typically require fasteners such as nails or screws, taking care to provide enough spacing for potential expansion or contraction.
Once the panels are installed, the next key step is to seal and caulk any joints around windows, doors, and corners, which prevents moisture infiltration and increases insulation efficiency. Finally, inspect the result for any misaligned or loose panels, and make necessary adjustments. Regular maintenance, such as cleaning and prompt repair of any damage, will extend the lifespan of your siding investment. Monitoring for potential pest infestations, especially for wood siding, is also vital to preserve its appearance and structural integrity. Compiling a detailed checklist during the project’s planning stage can help facilitate a seamless execution of each step during the actual installation process.